Reprinted with permission from the New York Institute of Photography website at www.nyip.com. All photographs on this page by Mala Gunadasa-Rohling.
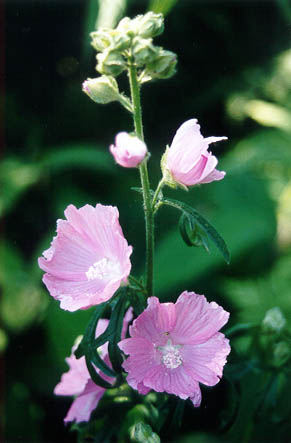
Sunshine on the new buds and blossoms of a lavatera. (MGR)
It’s spring in many parts of the world. For those of us who spent the winter trapped inside, spring means, among other things, an irresistible chance to grab the camera and start capturing the first blooms of the season. Yet, how do you turn those shots of your favorite blooms into something special? Here are some tips on how to take better flower pictures from the world’s largest photography school, New York Institute of Photography (NYI).
First, walk around the flower to see how it looks with light coming from different directions. Watch carefully when the light (usually, the sun) is behind the flower, coming toward the camera. Often, the petals will glow with beautiful iridescence. This is called “backlighting” because the light is coming from the back of the subject (in this case, the flower). Backlighting is often the best type of lighting for translucent subjects like petals.
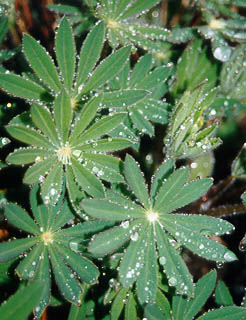
Raindrops and dew on leaves and petals add highlights and sparkle to a picture. Shown here are lupine leaves. (MGR)
However, don’t despair if there is no sun. Gray and overcast days provide great opportunities for flower photography. The lighting is more even and there are no shadows. Rain turns colors more intense. You can even carry a spray bottle to create rain droplets on the sunniest of days. Even night photography is an option. You’ll be surprised at how attractive a flower photo can be when illuminated by flash.
Second, to make a flower picture come alive, wait until something adds life to the flower – for example, a bee alights, or a spider crawls into it, or a hummingbird pays a visit. It takes patience, but it pays off if, for example, after you wait a few minutes, a butterfly lands on your flower. Shoot! The picture you get will be great.
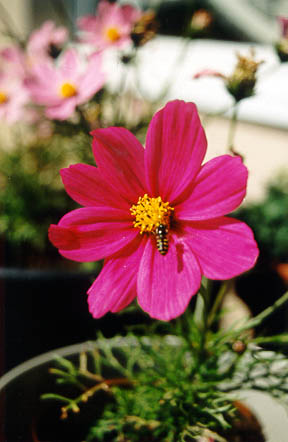
Action photo – a hoverfly visits a cosmos bloom on a balcony garden. (MGR)
Three, try interesting angles and backgrounds. Consider getting down low on the ground or shooting with the wide angle setting on your lens. Don’t despair if the background behind the flower is unattractive. Try replacing it with a colored piece of paper or fabric. There are lots of different ways you can experiment when photographing flowers!
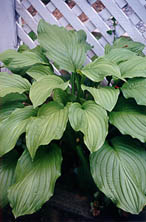
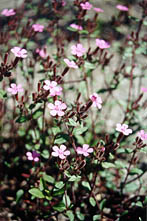
A simple trellis adds interest to the leaves of a hosta (left) and keeping the focus on the tiny flowers in the foreground makes the others fade gently into the background. (MGR)
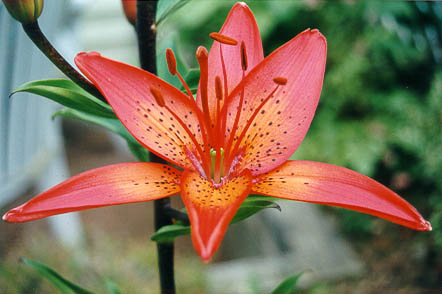
Let one large, spectacular bloom fills the frame! Here it is a vivid red-orange lily. (MGR)